Intro to Photography Class
Better known as Reddit Photoclass
18 – Scene modes vs. PASM
Except for the most advanced models, all digital cameras sport a variety of scene modes, which are there to help set the parameters of the camera in a way that fits the subject you are trying to photograph. Some that can be commonly found are portrait, landscape, macro, snow, night and sport, but recent cameras take this to absurd levels, with more and more advanced modes appearing. The alternative is to use one of the four “traditional” exposure modes: Program, Aperture Priority (Av on Canon), Speed priority (Tv on Canon) and Manual.
Scene modes have a place, as an adequate way of using a camera for people who do not have a good grasp of the different parameters involved in the use of a camera. However, if you have read the lessons on exposure and on focus, you should be well equipped to graduate to PASM modes. There are two major issues with scene modes:
- They are “black boxes”. There is no documentation anywhere saying “sport mode will try to keep a high shutter speed” or “night mode will increase ISO”. You can make guesses, but there is no way of knowing what really is going on. You are effectively relinquishing all control to the camera and will have little or no possibility to express what your vision for the image is.
- The exact effects of scene modes vary between manufacturers, sometimes even between camera models. It is far too easy to be surprised by some of the choices, for instance by when the camera will decide to increase ISO and to what levels. The only thing you know about how the camera works when you select the portrait mode is that “an engineer in Japan thinks these parameters will work in most cases for taking portraits”.
- The other reason is that scene modes are mutually exclusive. You can’t be in several at the same time. But what if you want to take a portrait at night? Or to photograph a kid in a snowy landscape? Knowing which one to choose can be an impossible task unless you know exactly what each mode does, which brings us back to the previous point.
Unlike scene modes which potentially modify every single parameter in the camera, PASM modes only concern themselves with two exposure controls: aperture and shutter speed. Let’s review each of the four modes:
- Program is a sort of “Auto” of exposure modes. The camera picks the aperture and speed it thinks are best suited to the scene, depending on a variety of parameters (for instance, it will usually try to use a safe handheld speed). You still have control, as you can change the picked couple with a turn of the control wheel. If you close the aperture, speed will lengthen, and vice versa. Whether the camera changes aperture or shutter speed when you use the exposure compensation button is up to internal algorithms.
Program is a pretty good mode that should be preferred to scene modes if you are still afraid to go into the more manual modes. You don’t have complete control, but at least you know exactly what is going on. It is also a good mode to use when you know you’ll only have a split second to take a shot and want to have sane parameters without having to touch anything.
- Aperture priority is the default mode of most serious photographers (i.e. they use the other ones only when they have a good reason to). You control the aperture, and the camera takes care of the shutter speed. When you use exposure compensation, the camera will only modify shutter speed, leaving aperture to whatever you have chosen.
This is a good mode for most pictures because you usually don’t care so much about what the shutter speed is, as long as it is fast enough to produce sharp images. On the other hand, aperture controls depth of field, which you want to pay attention to in every single image. A good way to take pictures is to set aperture to a default f/8, often the sweet spots of most lenses and giving a generous depth of field, changing only when either the light gets too low for handheld photography (always keep an eye on that shutter speed) or because you explicitly want more or less depth of field.
- Speed priority is a bit more specialized. It is the exact opposite of Aperture priority: you choose the speed and the camera deals with the aperture. It is useful mostly when you need a specific speed to get the effect you are after. Sport and wildlife photographers in particular use S mode often, as they will need very high speeds (often 1/1000 or more) to properly freeze the action. The big downside of using S mode is that depth of field will potentially be all over the place.
- Manual mode is possibly the least useful mode of all (though many consider it the purest). You get to fix both aperture and shutter speed yourself, with no help from the camera other than a mention of how off it thinks you are (usually via a set of bars in the viewfinder). This is useful mostly when you don’t trust the light meter for some reason. It is often possible to use exposure lock (the AE-L button) instead of going to manual.
You often find people advising beginners to shoot in full manual mode in order to gain a better understanding of their camera. While there is some wisdom in the advice, it is also a great way to burn out quickly, and there won’t be much advantage over shooting in aperture or speed priority.
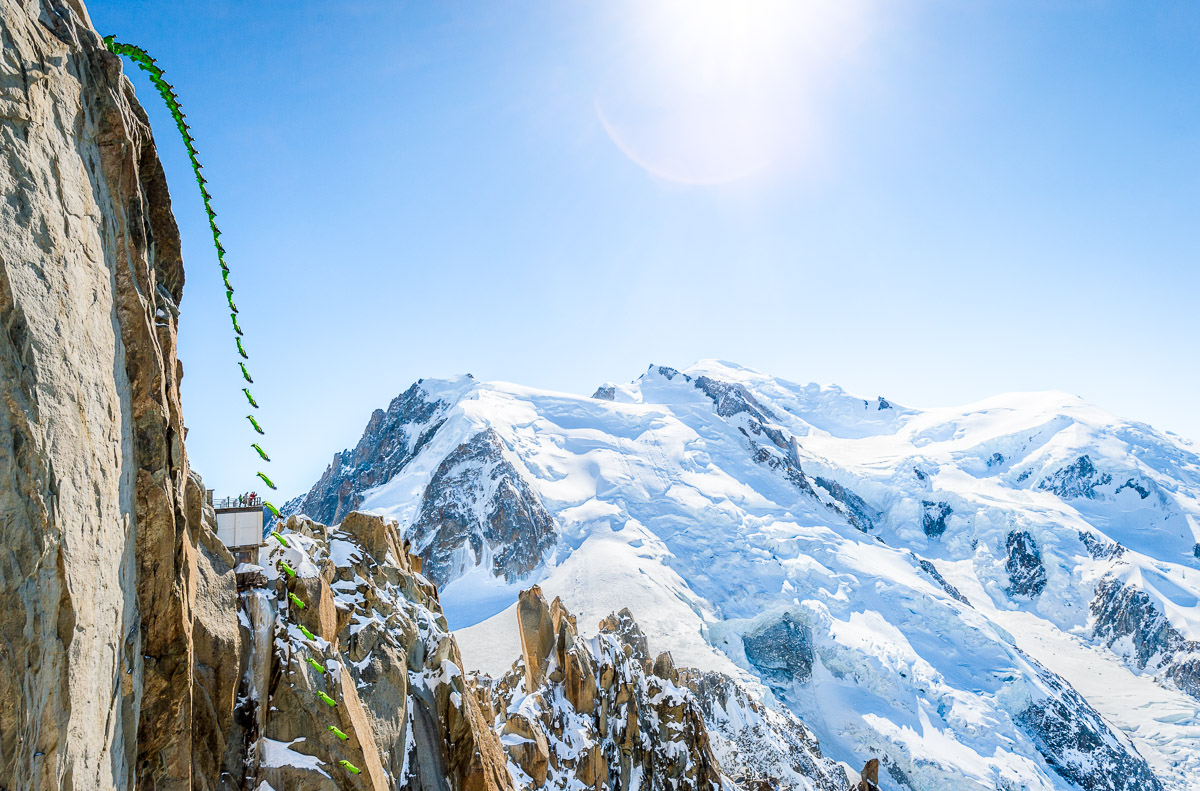
Action sequence of wingsuit pilot Laurent Frat exiting from Aiguille du Midi, Chamonix.
So far, we have only talked about aperture and shutter speed, but not mentioned the third exposure parameter: ISO. All these modes are legacies from film cameras, where it wasn’t possible to control ISO anyway (it was a physical property of the film). Most modern cameras have some form of AutoISO mode, usually enabled in the menus, with various parameters. This, unfortunately, is somewhat of a return to scene modes, as it is difficult to understand what exactly is going on and to gain the control you want (though, to their credit, some manufacturers do explain how their algorithm works).
Since ISO is usually the last parameter you want to change, I would argue that it is best to leave it as a manual control and not rely on AutoISO, but this is more of a personal thing and many photographers have incorporated conservative uses of AutoISO in their workflows.
Assignment
This assignment is very simple but should also be good fun: take a walk in your city or somewhere you find interesting and shoot pictures. They certainly don’t have to all be beautiful or mind-blowing, but try to make an effort to find real subjects instead of pointing the camera in random directions. Just tell your internal editor to shut up.
There is only one rule: you need to take at least 20 different pictures in each of five different configurations: using scene modes, using program, using aperture priority, using speed priority and using manual mode. So you should have a minimum of 100 pictures by the end of this. It may sound like a lot, but you will probably be surprised how fast you can attain that goal once you get going.
Once back home, post your favourite three in here and explain which mode it was taken with. For bonus points, give us your impressions of using each mode and why you prefer one to the other.
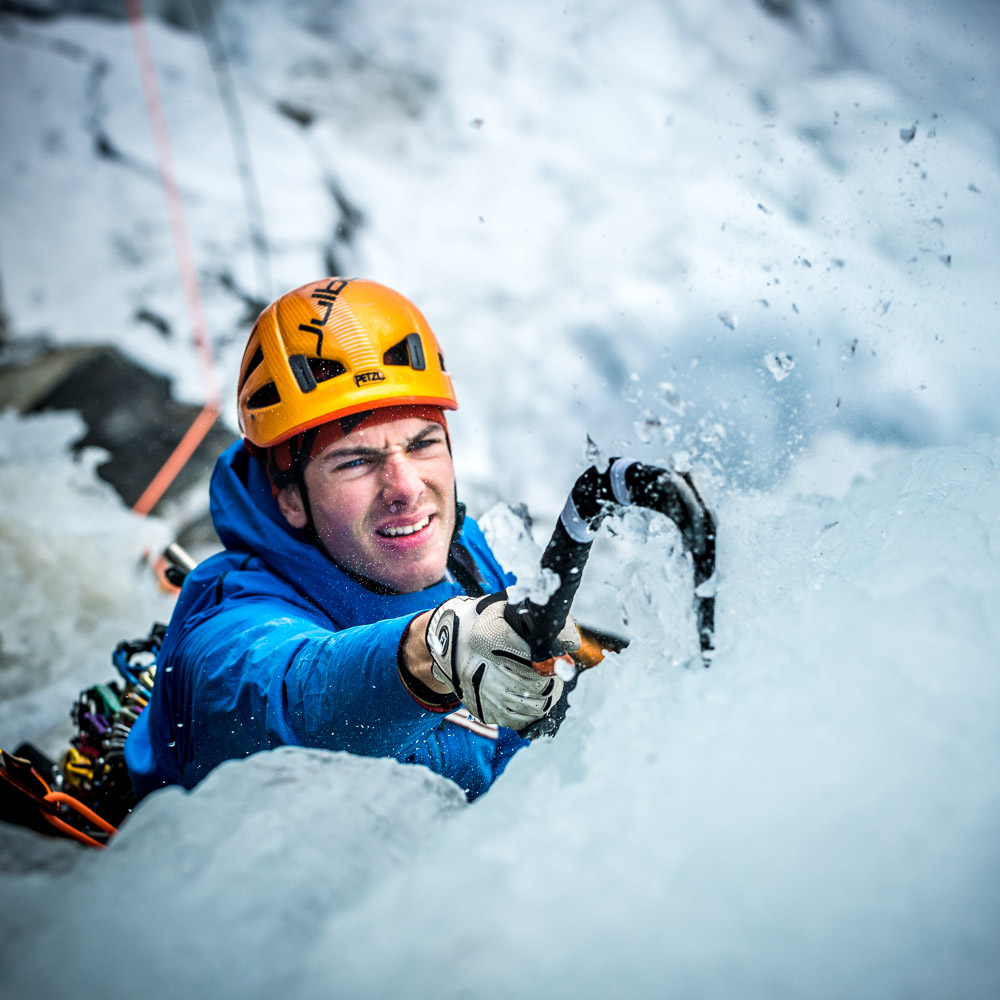
Aurélien Vaissière climbs the steep second pitch of Tequila Stuntman, on the left bank of the Argentière glacier, Chamonix.
11 Comments
-
-
I LIKED.
-
I’ve been shooting in Manual… And I often find articles online that state advantages and disadvantages, but this article’s author gives his opinion and I needed to hear that!!!! I’m going to shoot in Aperture immediately!!!
-
7t6c8p
-
gth2br
-
ovgb3p
-
eqzhi1
-
dy4kn7
-
2tuego
-
bxvxav
thank you for your explanations. I learn a lot!