Hp0 Oct 12, 2014
Intro to Photography Class
Better known as Reddit Photoclass
14 – Flash
We have also reached a new milestone in this course – the discussion about the fundamentals of focus and exposure is complete and we can now turn to more practical considerations. In this fourth part, we will talk about the decision process involved with operating the camera, what your different options are and how choosing one over the other will impact the final image.
The first topic we will discuss is this strange beast which is often the surest way to ruin a photo: the flash. It consists in generating your own light for the fraction of a second during which the camera shutter is open. As all photographers know, good light is a crucial ingredient of most great images, and the ability to create and mold your own light according to your exact needs is indeed a very powerful one. This is why many professionals worry much more about their lights than about cameras or lenses.
Without going into pro territory and their big lighting units, there are two types of artificial lights readily available to photographers: almost all cameras have a version or another of a pop-up flash, and if you have a hot shoe , you can attach an external flash (sometimes called strobe or flash gun). Pop-ups suffer from severe limitations: they can not be moved off camera or even oriented somewhere else than straight into the subject, they often lack power and they rarely allow much manual control. Finally, they draw their power directly from the main camera battery and will deplete it very fast. On the other hand, they are always available when you need it and do not require a bulky and expensive new device.
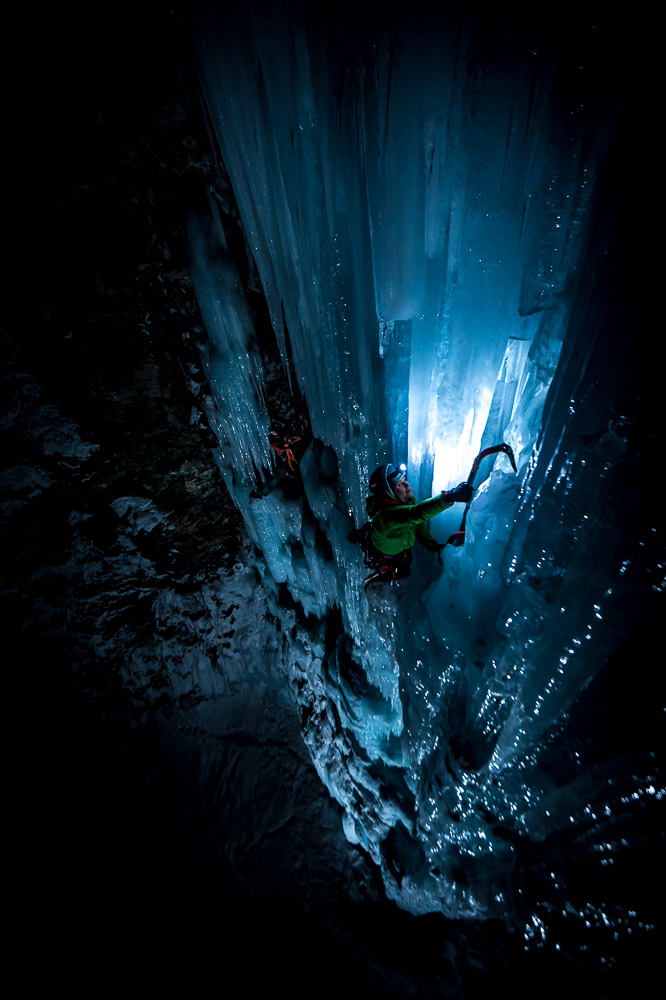
The best thing you can do with your flash is to take it off your camera. As you probably know already, frontal flash, used from roughly the same position than your lens, will flatten everything and create an ugly light. Used from a different position and at a different angle, your flash can do the opposite, increasing depth, shaping your subject or telling any story you want. To communicate with the remote flash unit, your camera can use either radio waves or, on some Nikon DSLRs, pre-flashes from the pop-up (so-called commander mode). Cheap radio transmitters can be found cheaply on ebay, though their reliability will tend to be less efficient than professional equipment such as pocket wizards. Another alternative is to use a wired connection, though you will obviously lose some range.
Most modern flash units are very smart and use a system of pre-flash to determine their optimal setting. This is what Nikon calls i-TTL and Canon E-TTL. Things go like this: before taking the picture, the camera orders the flash to fire at a predetermined level and records the exposure obtained. Based on this, the camera determines how strong the flash should be, sends it these new instructions and finally opens the shutter, orders the flash to fire and records the photo. All of this happens so fast that your eye doesn’t notice any of it and simply sees a single flash trigger. Of course, you can also use manual modes, where you instruct each flash of whether it should fire at full power (1) or at a fraction of it (1/2, 1/4, 1/8… to 1/64 or below).
Without getting into any advanced lighting discussion, there are two main cases where you will want to use your flash: fill and low luminosity.
- Fill flash is a great way to combat backlight and save high contrast scenes. It will typically be used to balance the exposure of a portrait with a bright background. With natural light, you could either expose for the subject and have a pure white background, or expose for the background and get a silhouette instead of a portrait. The key is to add just enough light to fill the subject while retaining a correctly exposed background. Used correctly, the technique will be invisible, making your scene look perfectly natural.
- The basic recipe for fill is simple enough: expose for the background, then add a severely underexposed, greatly diffused flash on your main subject. Keep increasing the power of your flash until you get the right balance between subject and background – usually somewhere between -2 and -1 stop.
- Flash can also be used to replace ambient light when the scene is really too dark – the default behaviour of many compacts when faced with the traditional indoor party picture. In this situation, you will want to do anything in your power to avoid full frontal bare flash. If you can, the easiest is to put your flash off camera and to one side, which will immediately create depth and add interest. If you are limited to on-camera flash, you have two solutions: diffuse or bounce.
- In the first case, you make the light go through a translucent surface, which will scatter the rays and will create a softer, nicer light. You can use virtually anything that is see-through, my favourite being a paper napkin folded several times on itself.
- The other possibility is bounce: you redirect the light to a white surface – a wall or the ceiling, which will then bounce back to your subject from another angle and with considerable diffusion. This only really works if the surface you bounce from is fairly close, as considerable power will be lost. If you are bouncing from something which isn’t white, you will introduce a colour cast which will make a nightmare of your white balance. Bouncing can be as simple as orienting your flash toward the ceiling or using a business card tilted 45 degrees in front of your pop-up.
We have barely scratched the surface of what you can do with your flash. Thankfully, there is an amazing online resource if you want to learn more on the subject: David Hobby’s Strobist. Consider in particular reading through his Lighting 101 course (though be aware that it is considerably more advanced than the present one).
Assignment
In this assignment, we will keep things simple and leave the flash on the camera. You can use either a stand-along flash unit or your pop-up flash.
Find a bright background – probably just an outdoor scene, and place a willing victim in front of it. Take an image with natural light, exposing for the background and verify that your subject is indeed too dark. Now use fill flash to try and expose him properly. If you can manually modify the power of your flash, do so until you have a natural looking scene. If you can’t do it through the menus, use translucent material to limit the quantity of light reaching your subject (which has the added benefit of softening the light). A piece of white paper or a napkin works well, though you can of course be more creative if you want.
In the second part, go indoor into a place dark enough that you can’t get sharp images unless you go to unacceptable noise levels. Try to take a portrait with normal, undiffused, unbounced frontal flash. Now try diffusing your flash to different levels and observe how the light changes. Do the same thing with bounces from the sidewalls, then from the ceiling. Observe how the shadows are moving in different directions and you get different moods.
Finally, make a blood oath never again to use frontal bare flash on anybody.
6 Comments
-
-
Eu sou realmente impressionado com suas habilidades de escrita como com o layout de seu blog .
Este é um tema pago ou você modificar é você mesmo?
Enfim acompanhar o bom escrevendo com qualidade, tem raro ver um bom blog como
este hoje. -
The most thing i liked is the last sentence he he
I swear not do it for the rest of my life…a blood oath bro -
rufq4k
-
j6sre2
-
6pwkch
small typo:
stand-along flash
unless its a new term for a zoomable speedlight