Benjamin Geiger Jul 15, 2012
Intro to Photography Class
Better known as Reddit Photoclass
11 – Autofocus
Welcome to part 3 of the course. We are now done with some of the most important concepts in photography, covered in part 2 – exposure, and can discuss another important idea: focus.

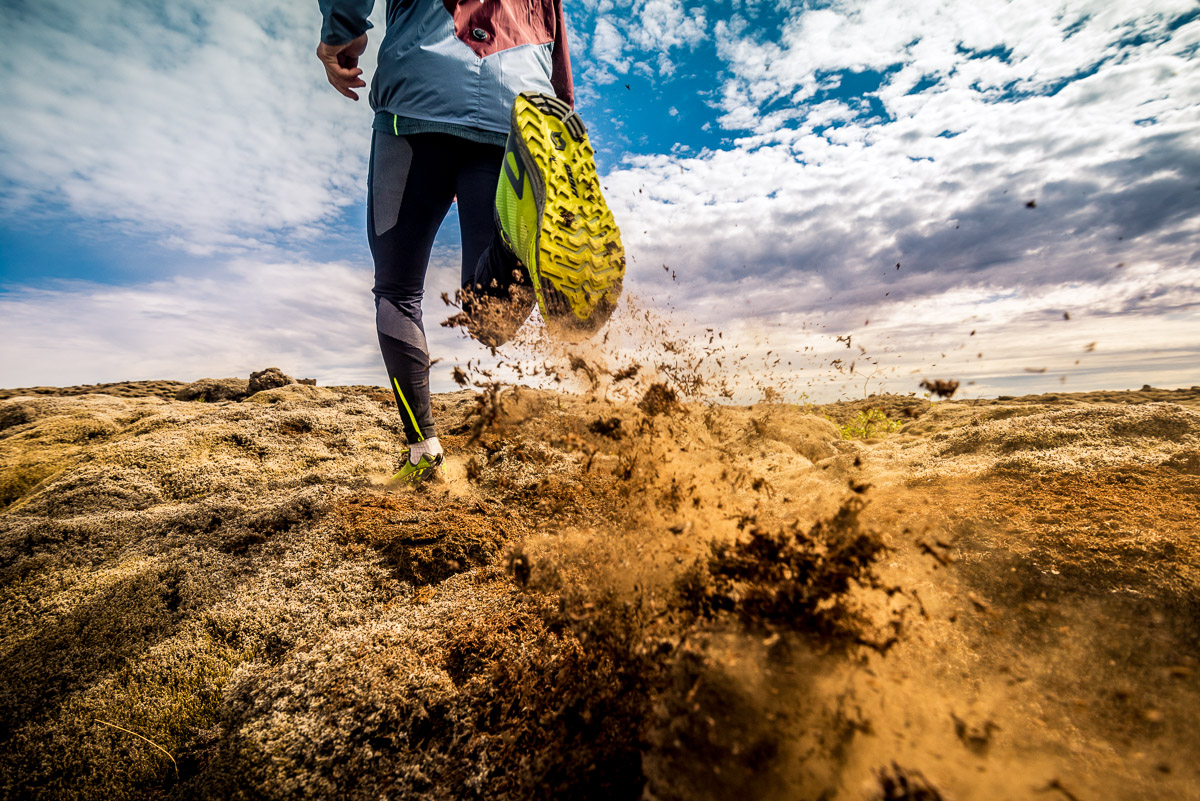
Tony Hoare takes off the skins from his skis prior to the first descent of Birdbone Peak.
Not everything in a picture is sharp, usually. For optical reasons, objects at a specific distance will appear sharp while others at different distances will be blurred. Moreover, there is a plane of focus, always parallel to the sensor (so orthogonal to the lens), and everything on that plane will appear perfectly sharp. The further away from it, the blurrier things will appear. Focusing the lens then corresponds to the action of moving this plane backward or forward until it is positioned on your subject. As we will see in a further lesson, this is actually not completely true, as there are two planes, with everything in between sharp, the distance between them being called depth of field, but for now, we can use the idea of a single plane as a convenient approximation.
There are two ways to adjust focus: either let the camera try to detect the distance from your subject and set focus accordingly (autofocus, this lesson), or do it manually (manual focus, our next lesson). If, like the vast majority of photographers since the 90s, you are using autofocus, your camera probably offers a variety of different ways to control how exactly the system works. Though this can differ from model to model, the basics are usually the same for every camera.
The most fundamental option you have is whether to use a manual single point of focus, or let the camera decide which one of its many AF-sensors to use. The AF system only works with a single point of the image. You can choose to direct the camera’s attention and tell it “here, whatever is below that point in the viewfinder is my subject, please focus on it” or let it go in auto mode, using all its resources to make the smartest guess. It can be something moving which you probably want sharp, or something in the centre of the frame which takes a lot of space and is much closer than the background, or a variety of other possibilities. In recent years, the development of face detection has improved these systems, since you will rarely want to have someone’s face appear blurred when the rest of the frame is sharp. As always, there is no right or wrong choice: it is entirely up to how smart your camera is, how much you want to trust it to make the right choice and how complicated your subject is.
Low light tends to be particularly problematic for focus, be it automatic or manual. Without any light to start with, it is impossible for either you or the camera to decide how far your subject is. It should be noted here that autofocus is always performed with aperture fully open, so fast lenses (with large maximal aperture) will focus much better in low light than cheaper, slower ones. One workaround is the ubiquitous AF-assist lamp, which turns on for a few brief moments before the image is taken, for the unique benefit of the autofocus system. As long as your subject is not more than a few meters away, it is very efficient, but can not perform miracles for scenes more challenging.
Finally, mention should be made of the AF-L button already mentioned in the previous lesson. It can be set to remember focus as well as exposure, in which case it is very useful to perform “focus and recompose” while in focus priority mode: put the subject dead centre (or below your active AF sensor), press the shutter halfway to focus, press the AF-L button, then recompose your image and finally press the shutter to take the photo.
Assignment
Find a scene with multiple objects at different distances, say 1m away, 10m away and a long distance away. A good example might be looking down a road with a tree in the foreground acting as your 1m target, a (parked) car a bit further down your 10m target, and some far away car or building in the distance as your long target. You may want to do all this in aperture priority mode with a wide aperture (remember, that means a low f-spot number), since as we’ll learn more about on Thursday, this decreases the depth of field and so makes the difference in focus between your objects more accentuated. If you can’t eye the differences in focus, although it should be reasonably obvious, take some photos, then look at the differences up-close on a computer.
Set the the focus to autofocus single (AF-S on at least Nikon and Olympus cameras) and experiment with the different autofocus points. Looking through the viewfinder (or at the live preview if your camera doesn’t have a viewfinder), use the half press to bring different subjects in different areas of your screen into focus. Try using the automatic autofocus point mode and try to get a feel for how your camera chooses which point to focus on. At the least make sure you know which point it is focussing on: this is typically indicated by the point flashing red.
Also play around with the difference between single and continuous autofocus, if your camera supports it. In AF-C mode, focus on something and move the framing until an object at a different distance falls under the autofocus sensor and observe your camera refocussing. Also see if you can configure your camera to prevent this refocussing when you press the AEL/AFL button.
12 Comments
-
-
As a person of color, I find autofocus almost useless on others like myself. It just doesn’t capture the skin tones well enough for me.
-
I often visit your site and have noticed that you don’t update it often. More frequent updates will give your website
higher rank & authority in google. I know that writing posts takes a lot of
time, but you can always help yourself with miftolo’s tools which will shorten the time of creating an article to a
few seconds. -
cf6872
-
za9m1i
-
rbpjy0
-
tvv971
-
wn2bt3
-
Two photos, taken at the same distance from the subject. In one, focus on the spider. In the other, the spider nearly disappears as I focus on the chair.
-
sqliso
-
0htgku
-
z31s9q
A hint for fellow Canon shooters: “autofocus single”/”AF-S” is called “one shot focusing” in Canon-land.