Alexis Miller Apr 02, 2013
Intro to Photography Class
Better known as Reddit Photoclass
17 – White Balance
Have you ever taken a photo where the colours appear all wrong? For instance with a strong blue or orange tint (what is called a colour cast)? If you ever took a picture at night, it most probably happened to you a fair few times. This is a case of wrong white balance: the colours are not well balanced with each other, and casts appear. One particularly visible consequence is that white is not pure white anymore, but slightly yellow or blue instead.
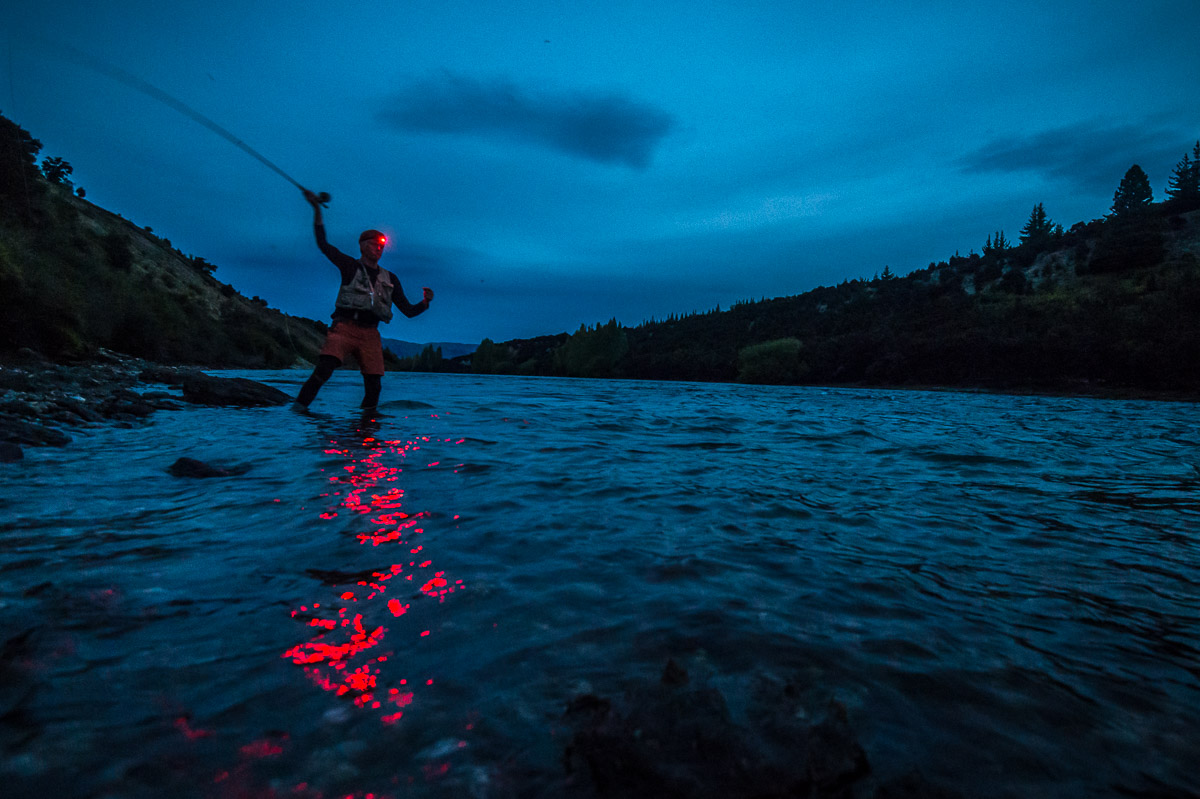
This is because not all light is created equal, and some have warmer components than others (i.e. they have stronger yellow and reds than blue and greens). We speak of light temperature, of which there is an actual scientific definition, though it’s not worth getting into this now. For instance, tungsten light (the usual incandescent lamps) appears much warmer than daylight sun, which is why it appears so yellow on night photographs. Fluorescent lights, on the other hand, are quite cold, explaining the “sterile” and inhuman look some offices have.
Unless it is extremely basic, your camera probably has a White Balance setting (often abbreviated in WB). Its usual modes are Auto (abbreviated AWB), Sunny, Shade, Fluorescent and Tungsten (with standard icons, see below). Choosing one other than Auto will tell the camera how to compensate for the current light conditions so that a white object really appears white.
Film photographers have it much harder, as the only two ways of controlling white balance are to use a different film (some are known to be warmer than others) or to use coloured filters.
Despite its somewhat technical nature, white balance is a very important creative tool, as we tend to have instinctual reactions to the set of colours used in an image: warm tones convey an idea of comfort, softness, happiness, while cold colours are usually distant, hostile and cruel. If it fits your vision, you should not hesitate to introduce (subtle) colour casts to enhance the message you are trying to convey.
Choosing the right white balance may seem like a difficult task. After all, our brain is so good at compensating colour casts that we rarely notice if our current environment is more of a tungsten or a fluorescent light. There are however very good news for digital photographers: if you shoot raw instead of jpg (which we will discuss in more detail in a later lesson), you will be able to set white balance after the shoot, in post-processing, with no loss of image quality. In other words, you do not need to worry about white balance at all until you get back to your computer, at which point, as we will see in a moment, it is a much easier task.
If you want to get white balance right in camera (because you are shooting jpg, or because you want to spend as little time on the computer as possible), you have three possibilities:
- You can trust the camera with the job and shoot in AWB. Most modern cameras will do a pretty good job as long as the conditions are reasonable, but all bets are off when you add mixed, complicated lighting. In short, you can probably forget about WB as long as you are shooting natural light by day, but you should be paying attention once you add any kind of artificial light.
- You can try to guess what the light composition is and set the camera WB in the relevant mode. It helps to also know that “fluorescent” means the image will get warmer, while “tungsten” means it will get cooler – using the screen, you can use trial and error until you get a WB that corresponds to your vision. This is quite cumbersome and you will occasionally forget to reset your WB mode between shoots, but with enough practice, it can work well.
- Finally, you can use a grey card to create your own WB mode. This is definitely the most accurate method, but it is also the most complex and time consuming. What you are doing is take a photo of a neutral gray piece of paper (anything will do, really, but many stores will be happy to sell you overpriced pieces of cardboard), then tell the camera that this should be its new reference point for WB from now on. Obviously, you will need to repeat this process every time the lighting changes.

If, on the other hand, you shoot raw, you can adjust WB in post. There are several ways to do this, one of which being to use the same modes than your camera or to use sliders to set light temperature to the exact values you want. However, the easiest method of all is simply to pick out a neutral part of the image and tell the software “this should be neutral, please adjust white balance accordingly”. As long as you can find an object that should be some shade of grey, you obtain results just as accurate as if you had used the custom WB procedure. Of course, it will occasionally happen that you can’t find anything neutral, and you might have to resort to the sliders and your own memory of the scene. To prevent this kind of scenarios, some photographers do take a picture of a grey card at the beginning of an important shoot, in order to have a point of reference.
Assignment
This assignment is here for your to play with your white balance settings. It helps if your camera has the ability to shoot raw: for each part of the assignment, take each photo in both jpg and raw (you can use the raw+jpg mode found on most cameras) and try the post processing on both, comparing the results at the end. You will also need a grey card, anything white or grey which isn’t too translucent will do just fine.
For the first part, go outside by day. It doesn’t matter if the weather is cloudy or sunny, as long as it’s natural light. First, set your WB mode to Auto and take a photo. Now do the same in every WB mode your camera has. Don’t forget to take a shot of the grey card.
Repeat the exercise indoor, in an artificially lit scene. First, try it with only one type of light (probably tungsten), then, if you can, with both tungsten and fluorescent in the same scene.
Once you have all the images, download them on your computer and open them in a software which can handle basic raw conversion. Observe how different all the images look, and try to get a correct WB of each one just by eye and by using the temperature sliders. Now use the grey card shots to find out the real temperature and use this to automatically correct all the images of each shoot (there usually is a “batch” or a copy-and-paste feature for this). Finally, notice how raw files should all end up looking exactly the same, while the jpg files will be somewhat degraded in quality.
9 Comments
-
-
For those of you unclear about what Alexis is talking about, here is her extremely helpful graphic: http://www.alexismiller.com/phototips/whitebalance2.jpg
-
-
really alexis credit for some small very simple icons o.O !? man just enjoi the world, and plz (credit) u are here probablie to learn from this good easy FREE hard work to teach u some photographie (sry for bad english -feel free to eliminate my comment just found alexis comment way to greedy)
-
I could’ve understood your concern if they had used actual photographs you took that were copy right protected without asking permission to post them. However this is a basic graph showing icons of what any basic camera displays in WB MODE! When you post any photo’s online it becomes public use for others to share or use, unless it’s on your own registered website & copy right protected under law, if not anyone can use your images as they see wish.
-
That’s just plain wrong. Just because you post something online DOES NOT mean that anyone can share or use it. You still retain full copyright. Please don’t talk about things you clearly know nothing about. Alexis is in her full right to be upset about this.
-
Copyright is not a legal process, no formal registration is required. The second you post your own original work online, you have copyright to it.
That being said what Alexis has here is hardly very “original”, and I agree it is quite petty to be upset over it.
-
-
sapfnl
-
kee7dw
-
71db0t
I just wanted to let you know that I find it to be rude and unethical that you stole my white balance graphic without permission. If you had asked permission and given me credit, it would have been very appreciated.