Intro to Photography Class
Better known as Reddit Photoclass
10 – Metering Modes
We are almost done with exposure. We have seen already what it is, how to measure it via the histogram and how to control it via shutter speed, aperture and ISO. The last piece of the puzzle is understanding how the camera decides what constitutes a good exposure – how it meters the scene.
In its most basic form, the meter of your camera will measure light coming from the subject through the lens, then use that information to set exposure parameters which would result in an average exposure of 18% grey – that is, the exposure is the same than if you had photographed an even bright gray light source. You are then free to modify either the total exposure (via exposure compensation or manual mode) or the individual parameters.
On most modern cameras, three different meter modes of greater complexity than the 18% grey can be found. In order of usefulness, they are:
- Multi-zone metering, also called matrix, evaluative or segment. It could be nicknamed “smart metering” and is most probably the default metering mode on your camera. It works by measuring light levels over many small segments covering the whole frame. It then uses algorithms to decide what the exposure should look like, using all sorts of parameters (subject distance, focus area, even time of day…) and matching the scene with a database of thousands of pre-recorded images, trying to really understand what you are photographing and where your subject is in the frame. Each camera has its own algorithms which are kept secret, so from a user point of view, it may appear to be a bit “magic”. It also pays off to study how your camera reacts to each type of scene and in which situations it may guess wrong.
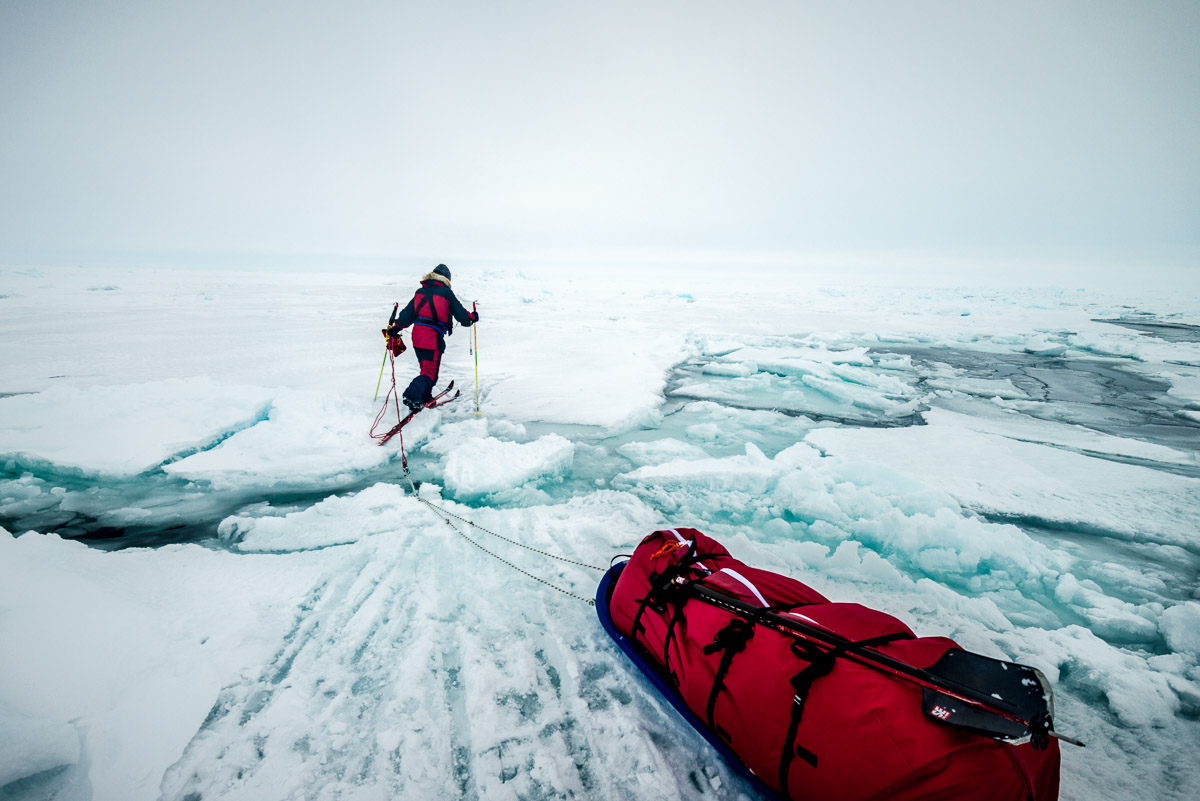
For instance, snow scenes are notably tricky to expose, as the camera may panic, thinking all this whiteness is awful overexposure which must be brought down to a more reasonable bright grey. Some modern cameras are now smart enough to recognize that it is indeed snow and should be left very bright, while others still need a manual one or two stops of overexposure. The only way of knowing how smart your particular camera is is to try it in a variety of situations.
- Spot metering is more or less the opposite: it measures light only in a tiny part of the frame (1 to 5% usually), often following the active autofocus sensor, or simply in the centre of the frame. This is very useful in extreme light conditions, as it allows you to expose for your subject without caring for the rest of the frame. The typical example is a night shot of the moon: if you use any other mode than spot, the camera will try to overexpose the very dark sky which fills the vast majority of the frame, and completely blow the highlights in the bright moon.
- Finally, centre weighted metering is a form of multi-zone metering which privileges the centre of the frame to the sides. It was mostly used in the film days, when multi-zone meters were still archaic or non-existent, but there is little reason to use it anymore.
So in a nutshell, it is usually safe to stay in multi-zone metering for most of your shooting, with two caveats: the camera can make mistakes in complicated scenes and shouldn’t be trusted completely, and spot metering is useful in high contrast scenes, especially when the subject you want to expose for is small in the frame.
There is a button found on most cameras which tends to remain fairly obscure (some would say scary): AE-L/AF-L. What it does is lock either exposure, focus or both (it can be decided in the menus). If you set it to exposure lock, it will be useful when you shoot in spot mode: put your subject in the centre, press the shutter halfway to meter, then press AE-L to lock the exposure parameters, then recompose to put your subject where you really want it – as we will see later in this course, it is very boring to position a subject dead in the centre of the frame. AE-L tends to be less useful with multi-zone metering.
Assignment
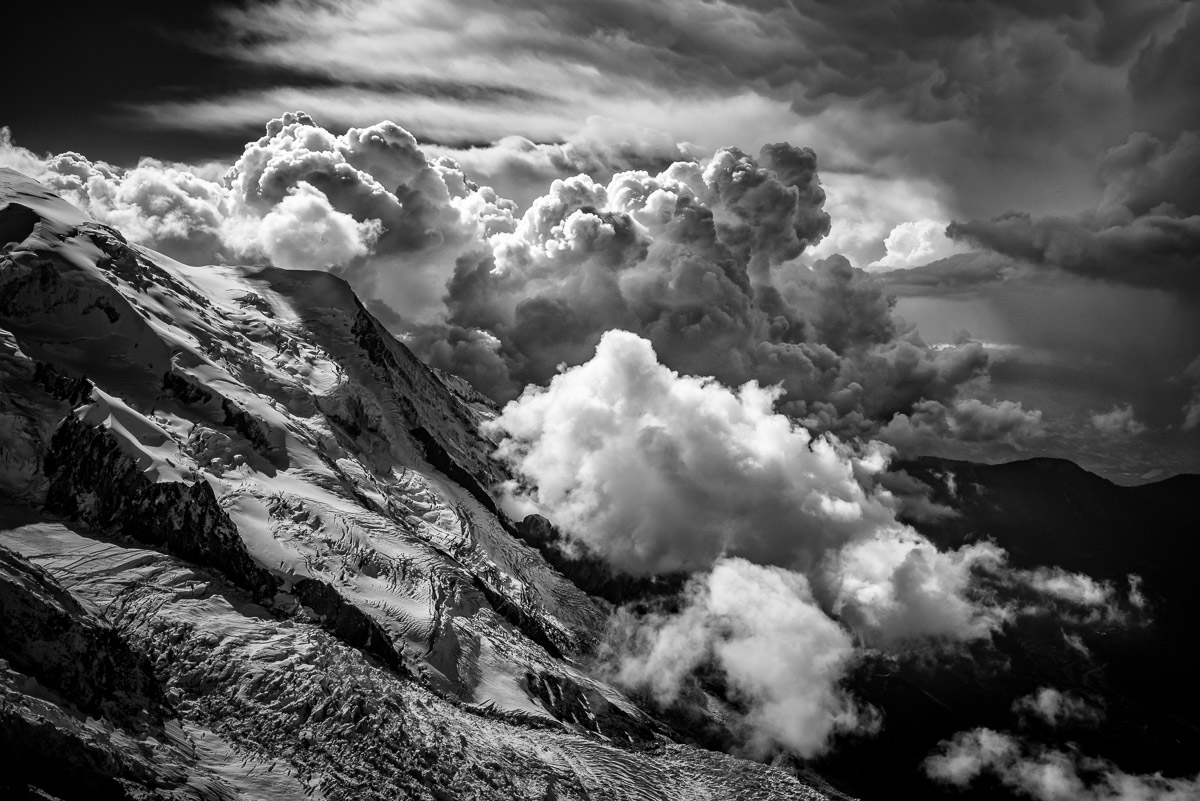
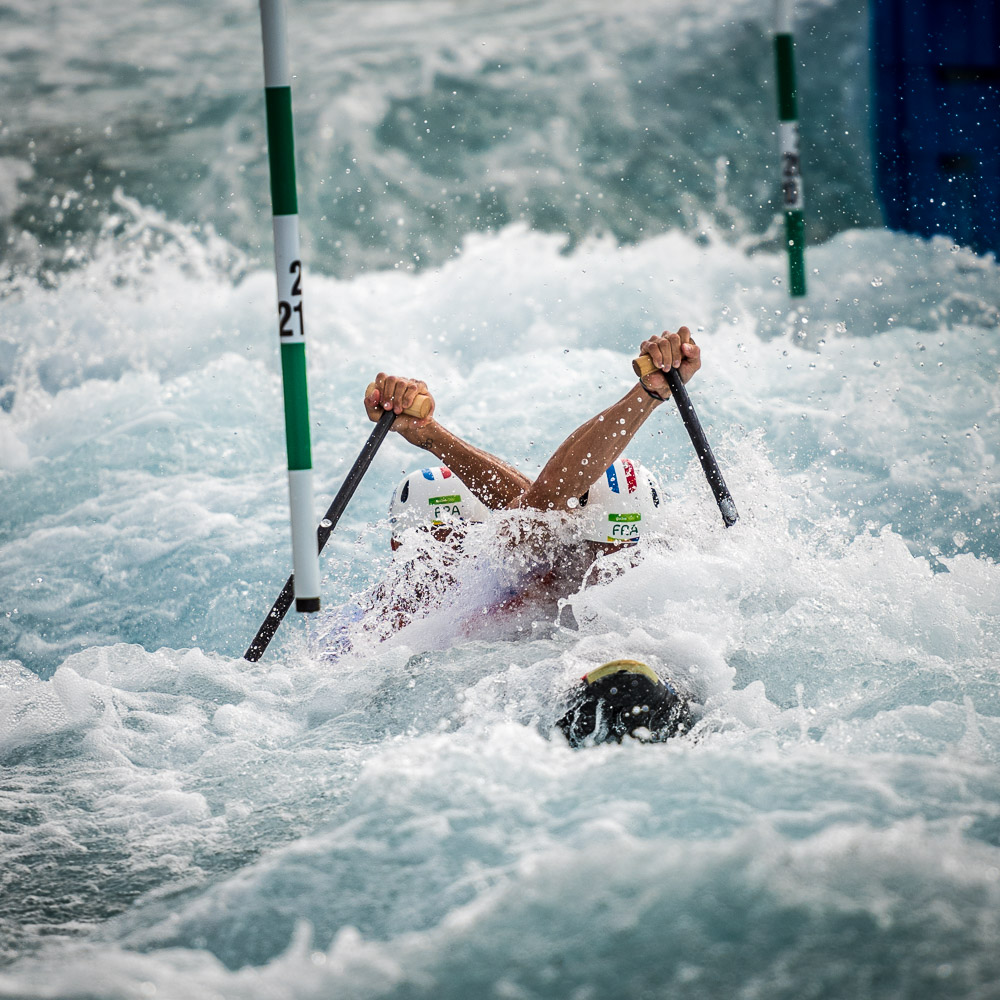
In today’s assignment, you will have a bit more freedom than usual, as it will depend heavily on the subjects you find. Try to find a subject difficult to expose, either because it has a lot of contrast or because it has large parts intentionally darker or brighter than 18% grey. Try to catch your multi-zone meter making a mistake, and see if you can reproduce this with another similar subject.
Find a small, bright subject in a dark environment – it could simply be a room with lights shut and a headlamp shining on a piece of paper, and try to expose properly with multi-zone meter. Now do the same in spot mode. For bonus points, position the subject well off-centre.
5 Comments
-
-
44qwn7
-
k3mnux
-
th6bjv
-
9f1w7j
pjlbx5