Arthur Aug 22, 2017
Intro to Photography Class
Better known as Reddit Photoclass
13 – Depth of Field revisited
In this third and last lesson of the “Focus” part of the course, we will revisit the topic of depth of field (henceforth abbreviated DoF), which we already talked about briefly in the aperture lesson. Back then, we were mostly concerned about how DoF is affected by changing the aperture, but we should now discuss how DoF itself can be used as an important creative tool.
If you remember, we defined depth of field as the distance between the closest object in focus and the largest in focus. As we saw in a previous lesson, everything on a plane parallel to the sensor will be in perfect focus. But there are actually two planes, parallel to each other, and everything between them is in focus. The distance between them is our depth of field.

For instance, on this image, the first plane is parallel to me and intersects the shelf between the ‘J’ and the ‘E’ of ‘SUBJECT’. The second plane intersects somewhere after the ‘S’ of ‘BIOGRAPHIES’. Since the books are receded, the first one on the right is just behind the far plane, so almost in focus but not quite entirely. Here, DoF is about 5cm.
All we talked about in the previous two lessons is about positioning the plane of perfect focus. Depth of field is about how much we include around it.
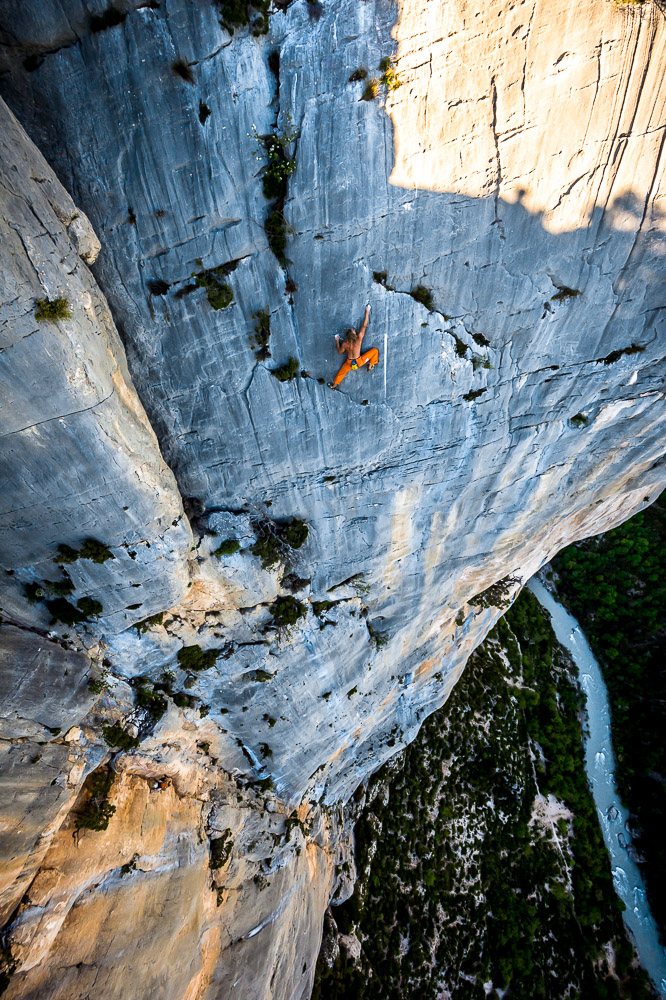
Shallow depth of field is an extremely useful technique: by having a really small DoF, we can direct the attention of the viewer to exactly where we want it, on the subject. Background and foreground will be thrown out of focus, still present but much less distracting. This is a technique for subject separation. It also gives images what I can only call a “slick” look. Since it is somewhat difficult to achieve (if you don’t know what you are doing), we tend to automatically consider shallow DoF images as professional, or at least of a higher standard. In the motion world, it is also part of what is called the “film look”, and is one of the reasons the introduction of video capable DSLRs was such a big deal.
We already saw that one ingredient for shallow DoF was opening your aperture as much as possible (using a small f number), which is a partial explanation of why some photographers spend so much money on fast lenses. There are however two others factors which are more often ignored: focal length and distance.
- The actual focal length of the lens (not its 35mm equivalent) is the single most important parameter for achieving shallow DoF. The longer your focal, the shallower your DoF. This is why big sensors make subject separation easier to achieve, while it is nearly impossible with compact cameras (a bigger sensor means you need a longer focal length to achieve the same angle of view, remember the focal length lesson). So for portraits, privilege longer lenses.
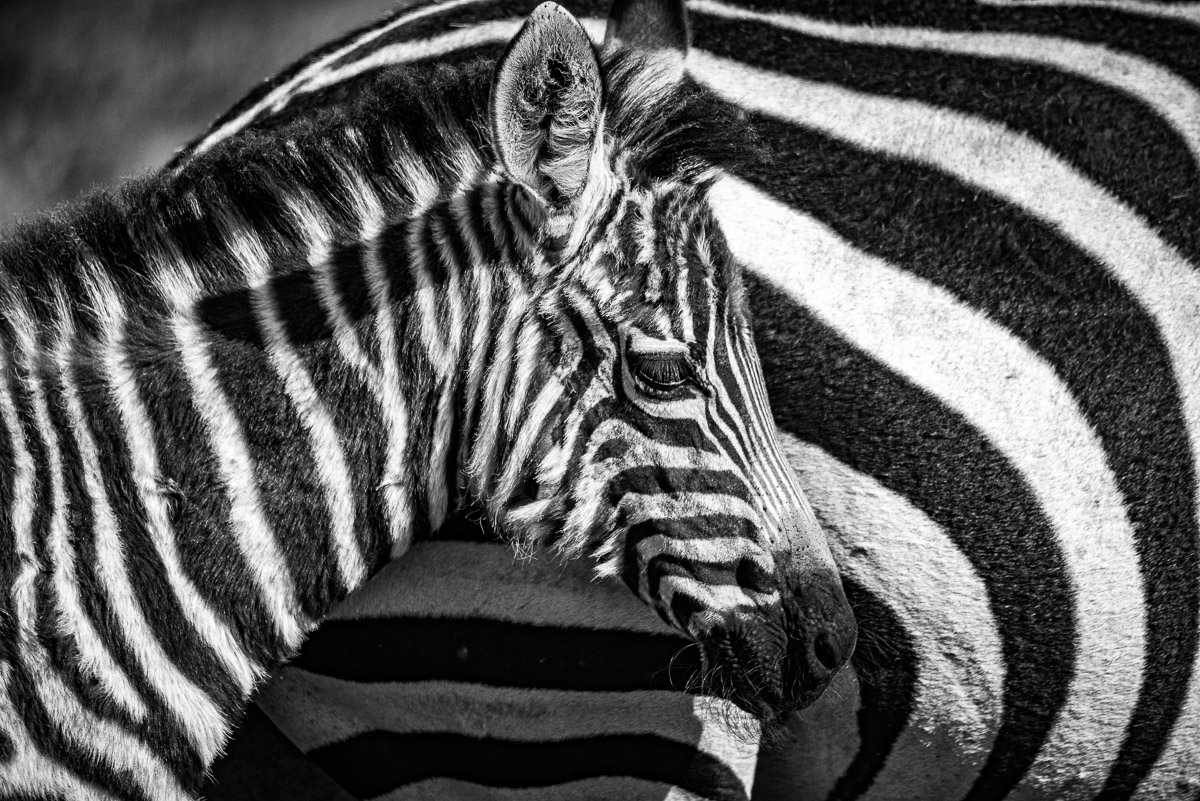
- The last factor is the ratio of the distance to the subject vs distance to the background. If you want a clear separation, get very close to your subject – which is why macro images like the following one have very shallow DoF. Conversely, if your subject is 100m away and the background only 150m away, you won’t be able to achieve much separation, no matter how big your sensor and your lens.
Just remember: aperture is important, but it’s far from the only factor.
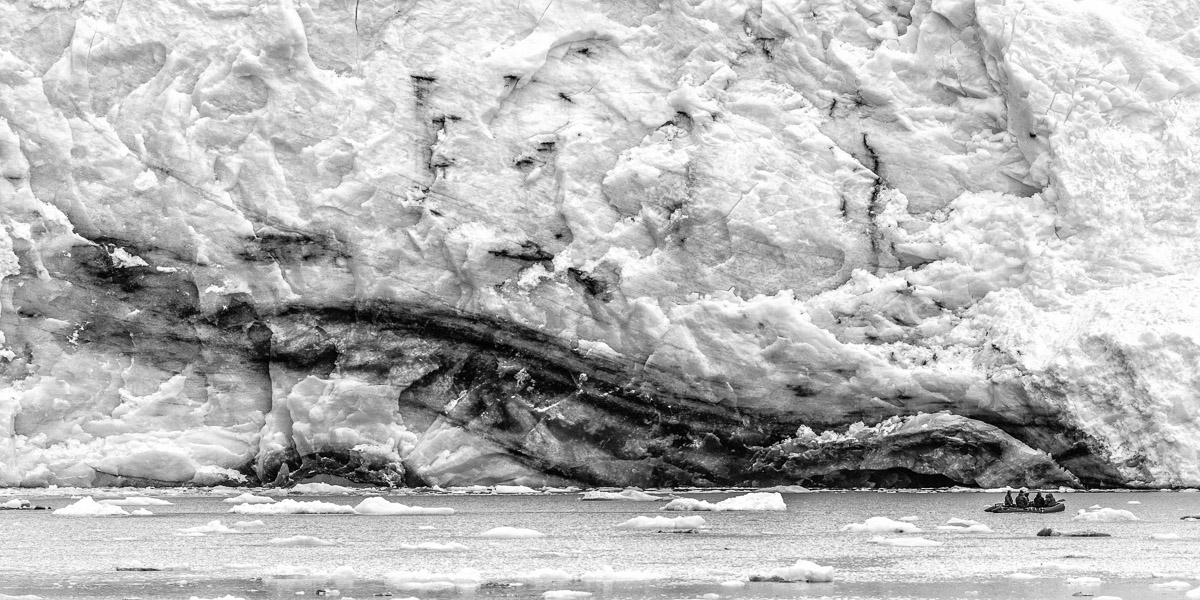
Shallow DoF is a useful tool, but not one you should be using on every single image (if only because it would lose much of its impact). Most of the time, you will probably want as much of the image as possible in focus. This is especially important with wide angle shots, for instance landscapes. Another instance where you want deep depth of field is when focus is hard to achieve, usually in low light, as it will allow you to make mistakes in the exact position of the focus plane and still get your subject relatively sharp. To achieve large DoF, the simplest is to close your aperture (using a large f number), though you probably want to be careful about diffraction.
There is however a nice trick you can use to increase DoF: hyperfocus. The idea is that when you focus on infinity (which happens frequently), you are “losing” some DoF: everything further than infinity is also in focus. What you can do instead is focusing closer to you so that the far away plane delimiting DoF is just barely at infinity (and not beyond). The distance at which this happens is called hyperfocal, and you can easily find calculators online – you only need to input your focal length and aperture, and it will tell you what the closest distance you can focus to is if you want to include infinity in your DoF. Because it is a bit calculation intensive and hard to evaluate on the spot, use of hyperfocal distance should probably be reserved to tripods and seasoned street photographers.
12 Comments
-
-
+1. Confusing wording there.
-
-
There is an app for calculating the hyperfocal distance on Google Play, HyperFocal Pro.
Just wanted to share, if somebody is interested.-
“Pro” meaning costs money. lol
-
-
v4ngx4
-
0ld297
-
qt8d5v
-
uw2ayj
-
k9rnwl
-
p1ci3x
“we defined depth of field as the distance between the closest object in focus and the largest in focus”
I’m pretty sure you wanted to write “furthest” instead of “largest”.